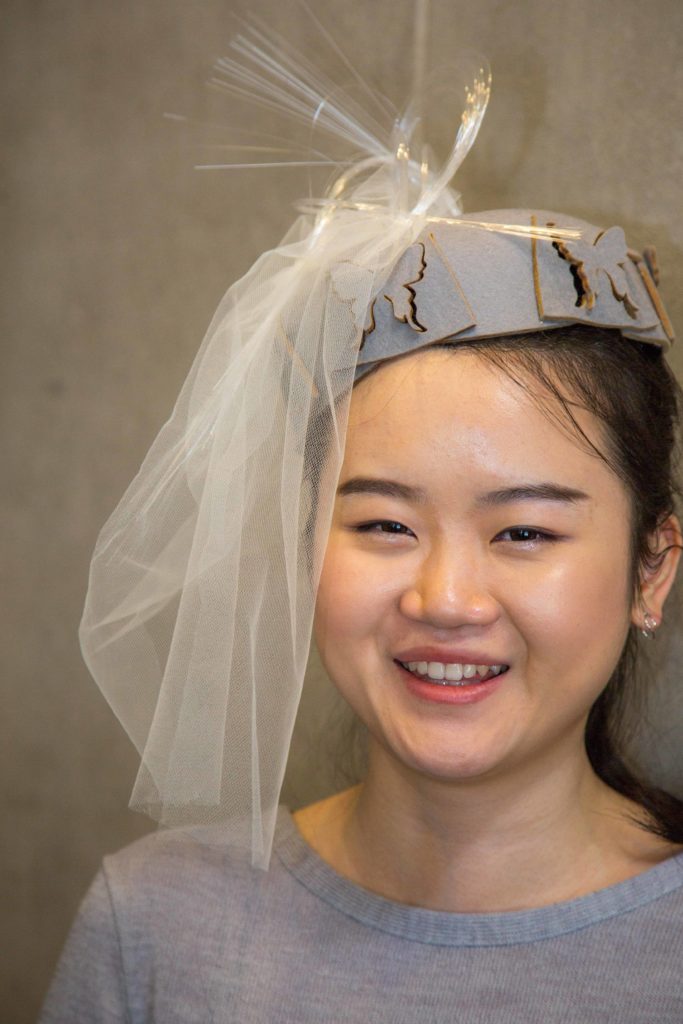
Title: Aurora Hat
Circuit Board: Circuit Playground Express
Material: optical
Fabrication Method: laser cutting, 3d printing
Method of Wearing: head accessory with fixed hair clips on both sides.

Description: Aurora is designed for weddings, cocktail parties, and other special occasions. It can detect sound volume in the surrounding space. When the sound volume is too high, it will react with a beeping sound and flashing of northern light. The hat will also flash pink when the wearer is on big body movement such as dancing.
Wearability:
The initial goals for Aurora are three as followings
- Aesthetic: Aesthetic is the main goal of Aurora, we try to find a way to combine digital components into a fashion accessory. We took a look at the fashion trends on women’s hat and designed the classic appearance of Aurora. Northern light is such a beautiful gift from mother nature, we want to represent it on the human body in the dark night, so optical fibers are then designed to extend the neon pixels from circuit playground.
- Comfort: The feature of comfortability was also considered in the process of making Aurora. The microcontroller was placed in the top middle as it is the only space left in the hat after placed on the human head. Other components like battery and wires are also covered with felt so they will be soft and easy to wear. Aurora is also lightweight like a normal hat.
- Easy to use: Aurora is user-friendly and easy to use, the functionality has been minimalized to only the audio reaction and movement detection. So the user can just plug the battery and it’s ready to go. The maintenance of Aurora is to charge the battery via mini USB cable when there’s no power.
However, the comfortability of Aurora still needs to be developed further in the future as it’s slightly uncomfortable to wear because of the shape of the 3d printed case.
Findings: Aurora explored the design options of working with circuit playground express and maximize the benefits of onboard components such as embedded sensors and neon pixels. It’s useful to work with eagle and illustrator to figure out the right positions.
Laser cutter setting: Speed, 40 / Power, 17.
3D printer setting as recommended on Cura-lulzbot program.
Process Documentation:
Cutting test


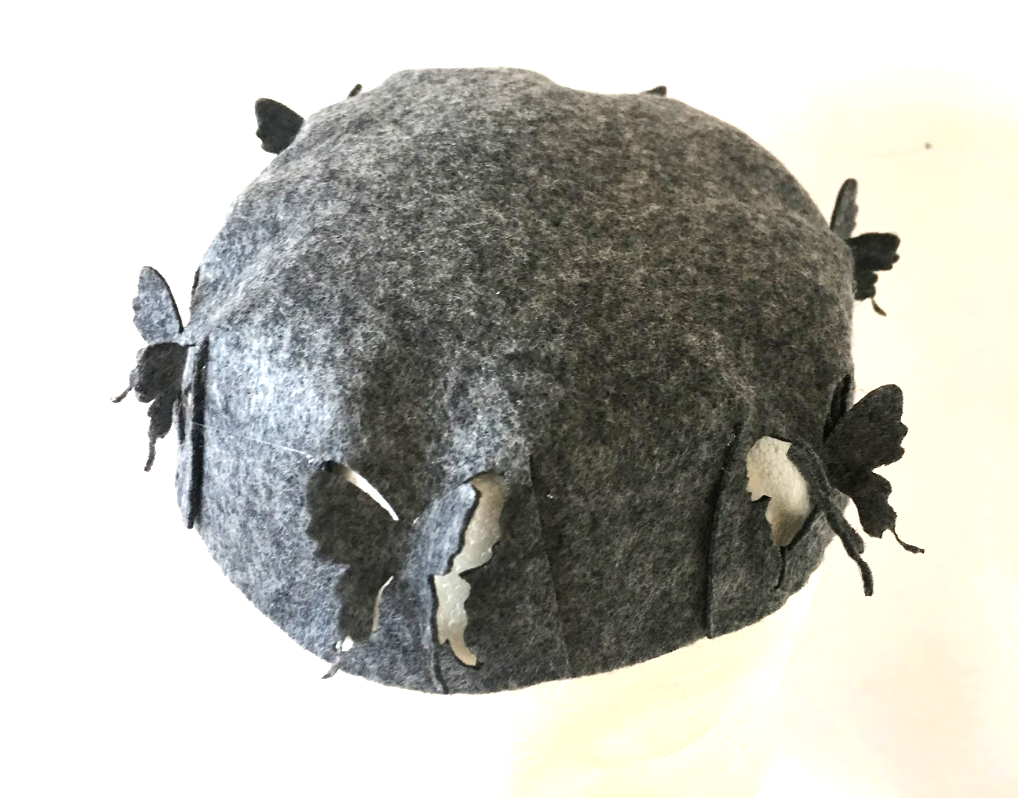
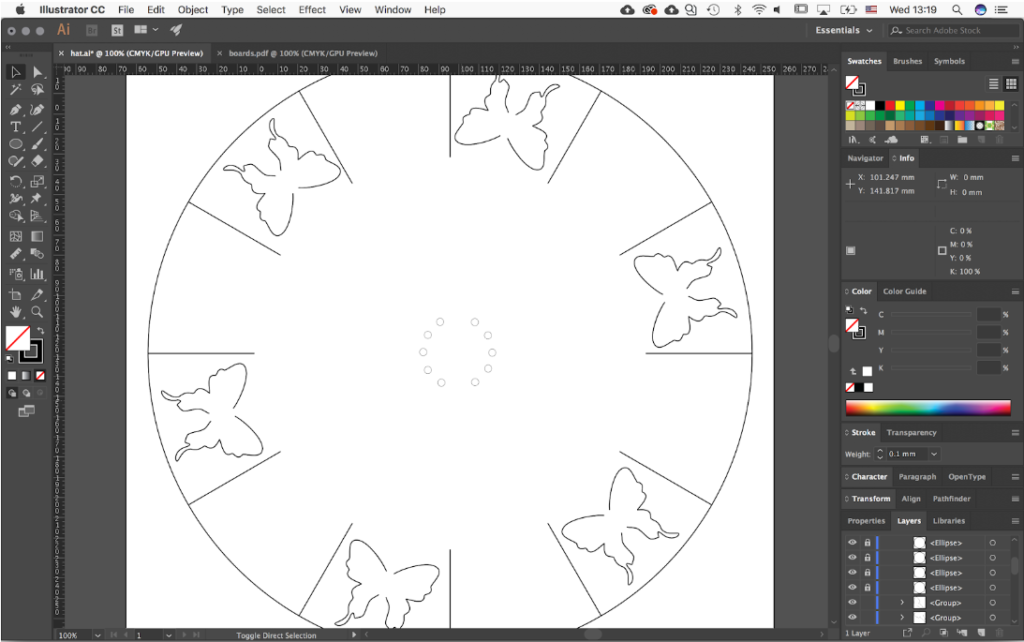
We start with designing patterns of the hat in different shapes and cutting on the papers to see the results. After several attempts, we found it works best with a circle. So we proceed with laser cutting on 1.5mm felt with the design as shown in Figure 2. The result turns out quite good as there are not visible burnt marks and the butterfly shapes can pop out as expected. However, the hat is too soft and shapeless because the material itself is too thin, it won’t meet our aesthetic goal. For our next experiment, we then continue to laser cut on 3mm wool felt, it works much better and has a very stylish appearance.

Figure 3: Laser cut on 1.5mm grey felt. Machine setting: speed 60, power 12

Figure 4: Laser cut on 3mm grey felt. Machine setting: speed 40, power 17.
Refining design to work with circuit playground express


