Contributors: Kate Hartman, Hazel Meyer, Ken Leung, Oldouz Moslemian
Funding: OCADU Corus Seed Grant
Keywords:
Tools:
Audience Jacket Tutorial
How It Works:
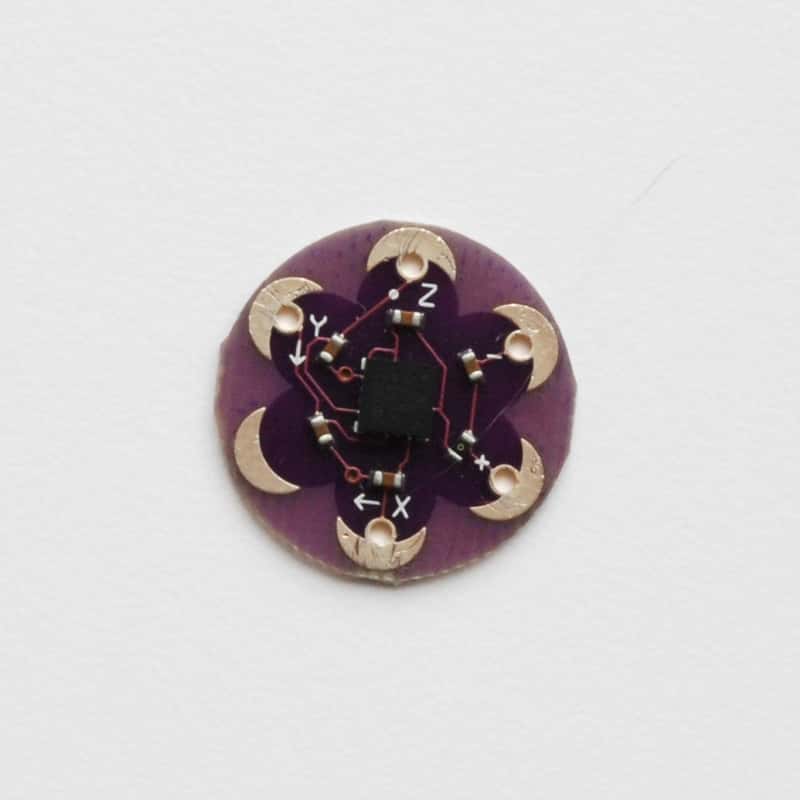
An accelerometer attached the wrist transmits wireless information of arm movement via an Xbee radio to a second Xbee radio attached to a computer running Arduino and Processing programs provided here. As the wearer raises their arms, a cheer is heard. As the wearer claps, the sound of hundreds of others clapping is heard.
What You Will Learn:
In this tutorial you will learn how to configure Xbee radios, program a Lilypad Arduino, interpret accelerometer data, and work with conductive fabric and conductive thread. You’ll also never be alone again.
Overview of the Tutorial Steps:
- Prepare the Lilypad Xbee
- Label the Xbees
- Download and Install Software
- Configure the Xbees
- Chat Test (Optional)
- Upload the Arduino Program to the Lilypad Arduino board
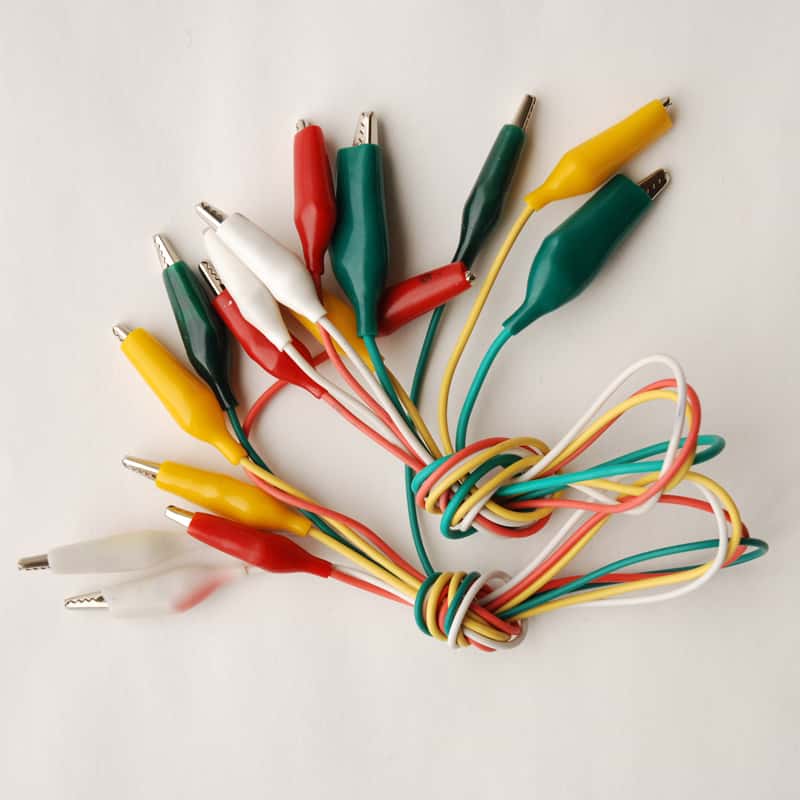
- Alligator Clip Test with Lilypad Arduino and Accelerometer
- Run the Processing Program
- Solder the 9V battery clip to the Lilypad Xbee Breakout Board
- Connect the Lilypad Xbee
- Sketch the Design Layout
- Attach the Components
- Make the Conductive Fabric Design
- Make the Connections with Conductive Thread
- Sew the Pocket Closed
Parts and Materials

Parts and Materials
Computer with Coolterm, Arduino and Processing software installed
What is the Lilypad Arduino & Xbee?
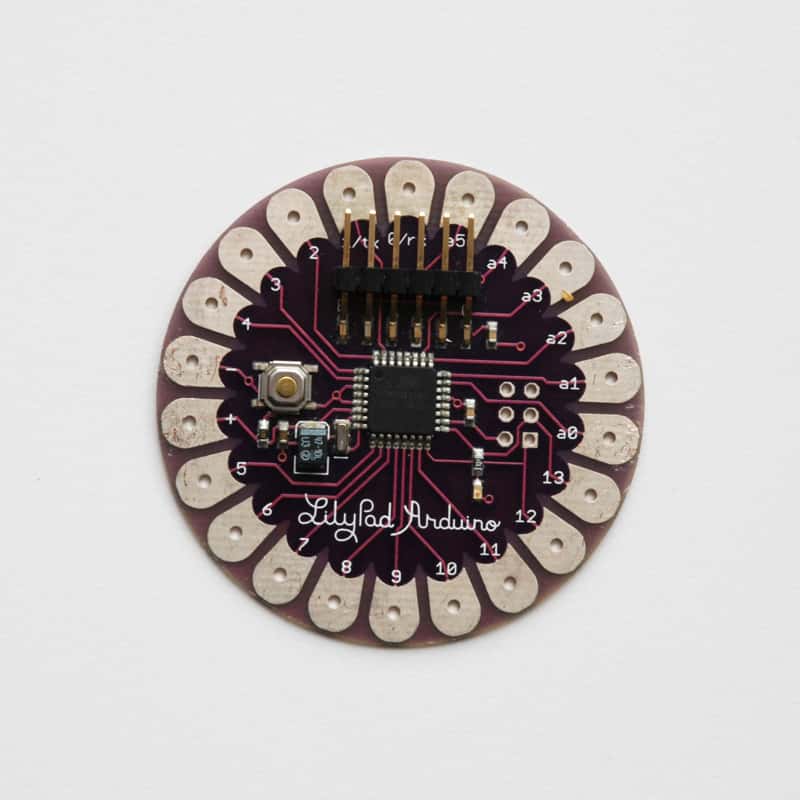
The Lilypad Arduino is a wearable, sewable version of the Arduino Microcontroller board. In addition to the Lilypad Arduino, there is an entire body of Lilypad components that you can incorporate into your wearable projects. In this tutorial you will be using Lilypad LEDs along with the Lilypad Xbee board. The Lilypad Xbee is a wearable, sewable breakout board for an Xbee radio. It has Digital Input/Output pins and a voltage regulator, among many other useful features. For detailed information about the Lilypad Xbee, see here: http://lilypadxbee.katehartman.com/about-board/
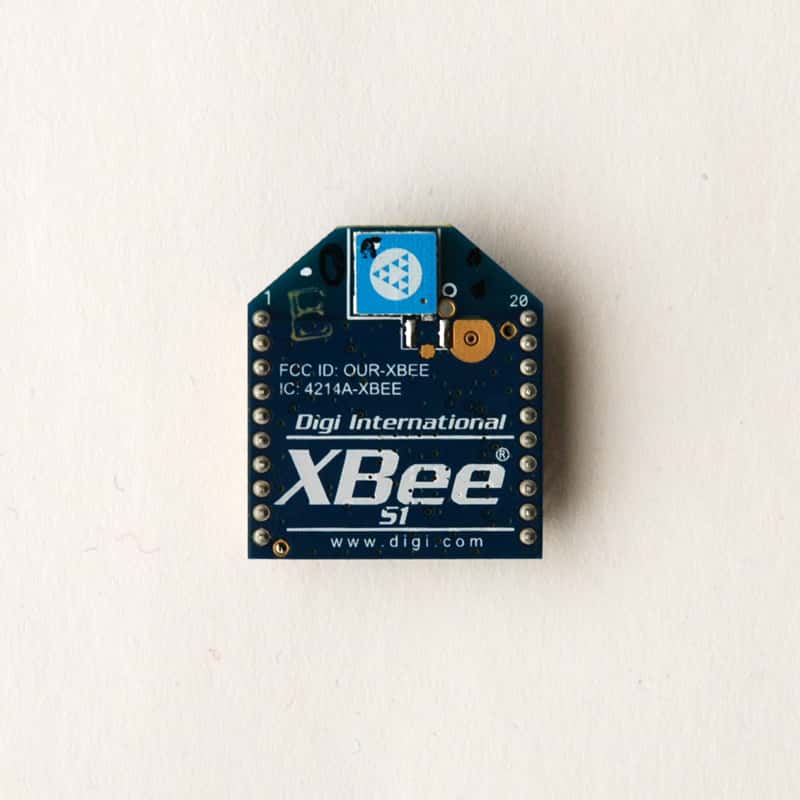
Xbees are radio transcievers that can send and receive data. They can be used in pairs, multiples or networks, both with and without a microprocessor (such as Arduino), and are generally a reliable and easy- to- use wireless communication option. You can find out more about them here: http://www.digi.com/products/wireless- wired- embedded- solutions/zigbee- rf- modules/point- multipoint- rfmodules/xbee- series1- module.jsp#overview
LET’S BEGIN!
Step 1: Prepare t he Lilypad Xbee
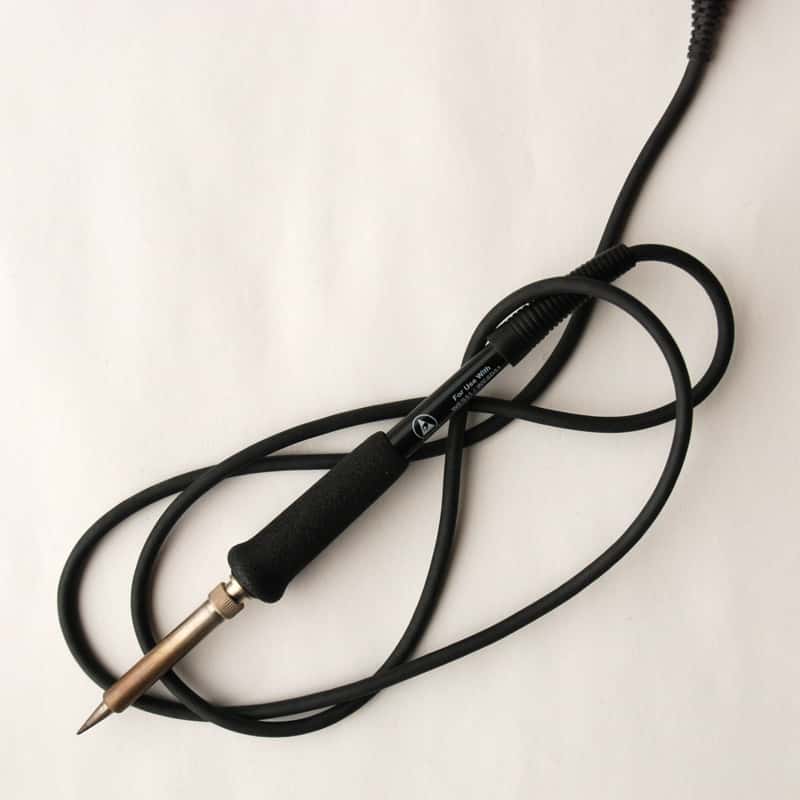
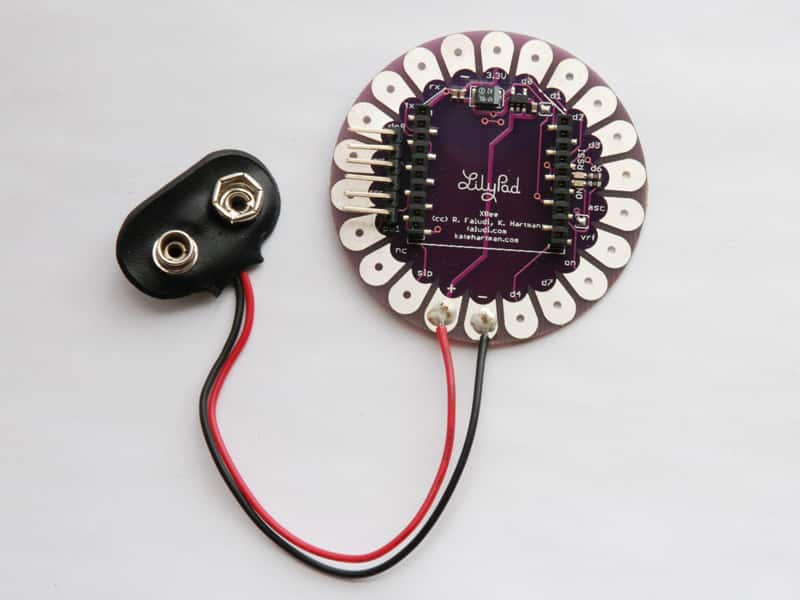
Solder the 6- pin right- angle Male Headers onto the Lilypad Xbee board, as illustrated in the photo below. If you’re new to soldering, check out this soldering tutorial: http://video.google.com/videoplay?docid=- 1438613870956797134#
Step 2: Label the Xbees
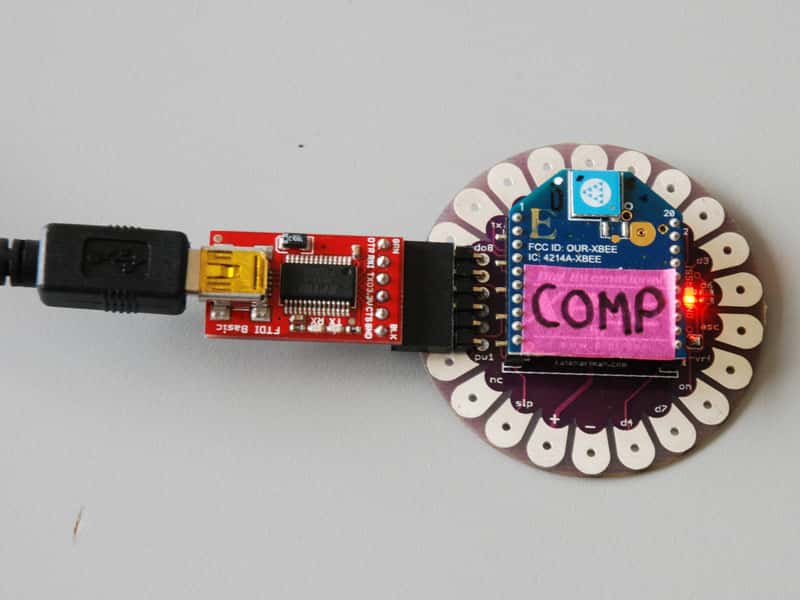
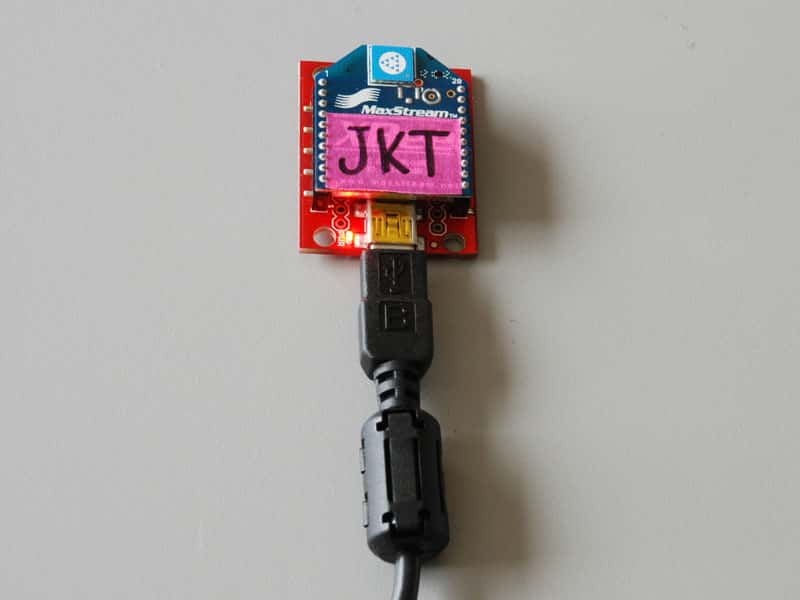
Before configuring the Xbees, first label them so that they are easier to distinguish. We’ve labelled one XBee as ‘COMP’ (this will be the Xbee that will be connected to the computer), and the other XBee as ‘JKT’ (this will be the Xbee that will be attached to the hoodie/jacket). These names will be used to identify the XBees for the remainder of this tutorial.
Step 3: Download and Install the Software
Download and install the following software for your operating system. Once you have installed these items, be sure to re- start your computer. Coolterm (a freeware available for both Mac and PC computers): http://freeware.the- meiers.org/
Processing (free software available for Mac OSX, Linux, and Windows): http://processing.org/download/
Arduino (an open- source software available for Mac OSX, Linux, and Windows): http://www.arduino.cc/en/Main/Software
Step 4: Configure the Xbees
In order for our XBees to communicate, they must be configured so that they know how to send information to each other. To do this we’ll be using CoolTerm, a terminal program which allows you to communicate with hardware connected to your serial port.
1) Plug your COMP Xbee into the Lilypad Xbee board, using the visible guide lines inscribed on the board. Ensure t hat t he pins are properly lined up, and t hat t he Xbee is not plugged in backwards.
Connect the FTDI Breakout board to the male headers on the Lilypad Xbee board and plug in the USB cable to both the board and your computer.
2) Open the CoolTerm application.
3) In the Menu bar, select Connection > Options.
Select your Port setting, and set your Baudrate to 9600. Turn on ‘Local Echo’ by checking the box.
4a) Conf igure t he COMP XBee
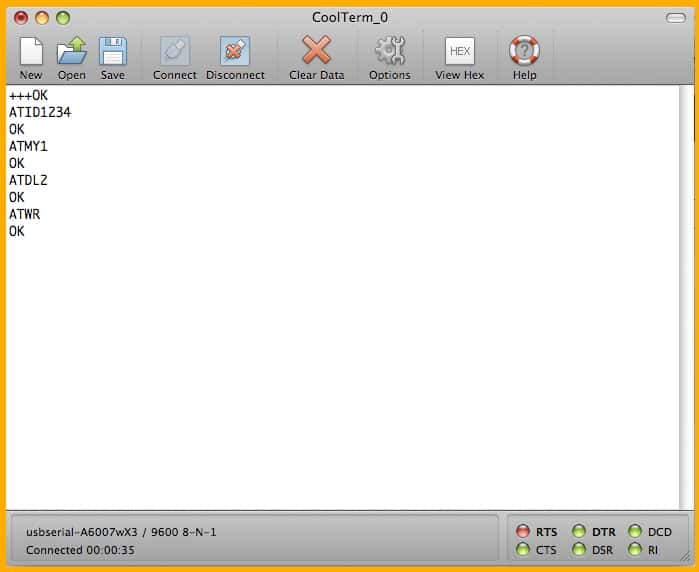
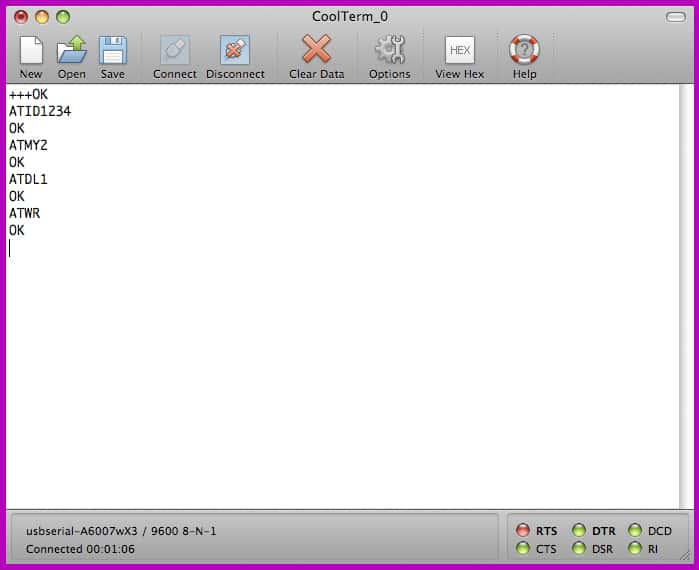
XBee radios are configured using commands called “AT Commands”. Before AT commands can be executed, the XBee must first be put into ‘Command Mode’. You can do this by typing ‘+++’ into the Coolterm window, which it should respond to with an ‘OK’ message. Do not click the <Return> key afterwards, or it won’t work!
Note that Coolterm will exit from Command Mode in less than 30 seconds, so try not to leave the window idle. If you aren’t getting an ‘OK’ in response, type in ‘+++’ again to re- enter Command Mode.
Setup Instructions:
1) For two XBees to talk to each other, they must have the same PAN ID. To set a PAN ID of say, 1234, you would type:
ATID1234
(you should then receive an ‘OK’ message — if not, make sure you’re still in Command Mode!) You can check your PAN ID at any time simply by typing ATID (with no parameters).
2) Next, let’s set up an MY ID for our specific XBee. To set an MY ID of 1 for our first XBee, type:
ATMY1.To check if this worked, simply type ‘ATMY’ — CoolTerm should echo back ‘1’.
3) We need to prepare the first XBee so that it will be able talk to the second XBee. To do this, we need to set a ‘destination ID’, by typing:
ATDL2
This will set the destination device to ‘2’.
4) To save all the configuration changes we made, type:ATWRThis is an important step. If you don’t write the settings to the Xbee, all settings will be deleted after the XBee is unplugged!
5) Click the ‘Disconnect’ button in CoolTerm to end the session, and then unplug the XBee from your computer.
6) Congratulations, you have finished configuring your COMP XBee!
4b) Configure the JKT Xbee
1) Unplug the USB from the computer.Remove the COMP Xbee from the Lilypad Xbee board and plug the JKT Xbee into the board. Then plug the USB cable back into your computer.
2) In Coolterm, select the “Connect” icon in the Menu bar. From here, you will continue with the same steps as with the COMP Xbee, except that you will change the following parameters:
| COMP XBEE | JKT XBEE | Function |
| ATID1234 | ATID1234 | Sets PAN ID (same for both cuffs) |
| ATMY1 | ATMY2 | Sets individual IDs |
| ATDL2 | ATDL1 | Sets ‘Destination Low’ address |
| ATWR | ATWR | Saves all the data to the Xbee |
Step 5: Chat Test (Optional)
If you have two computers available, you can test your “chat” abilities between the two Xbees.
1) Plug one Xbee into the Lilypad Xbee board, and attach the FTDI Breakout board to the Lilypad Xbee board via mini- USB. Connect the other end of the USB to one computer.
2) Plug the other Xbee into the Explorer board, and connect it to the computer via USB.
3) On each computer, open Coolterm.
4) On each computer, select ‘Connect’ in the Menu bar.
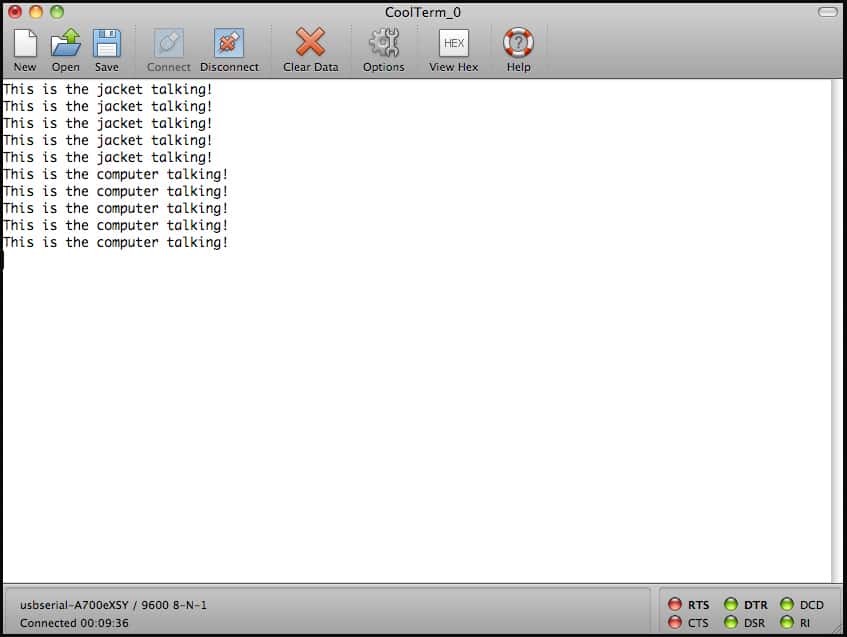
5) On each computer, select Connection > Send String. Using this Send String function, you can send messages to each other’s computers, just like in the image below:
Step 6: Upload the Arduino Program to the Lilypad Arduino board
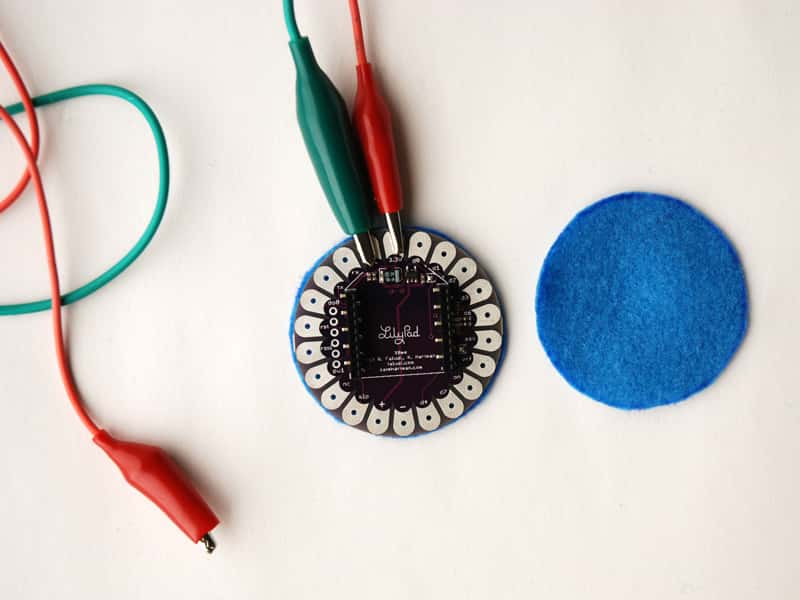
1) Trace the Lilypad Arduino or Lilypad Xbee board onto scrap felt fabric. Cut the circles out. Use these two pieces as “coasters” beneath the Lilypad boards so that the alligator clips do not slide around.
2) Plug one end of the mini- USB into the FTDI Breakout board, and the other end into the USB port on your computer. Then plug the FTDI breakout board into the Lilypad Arduino. Then open the Arduino software.
3) With the Lilypad Arduino connected, go to Tools > Board. Select the board that you are using (either Lilypad Arduino 168 or Lilypad Arduino 328).
4) Then go to Tools > Serial Port. Select your Serial port.
Step 7: Alligator Clip Test with Lilypad Arduino and Accelerometer
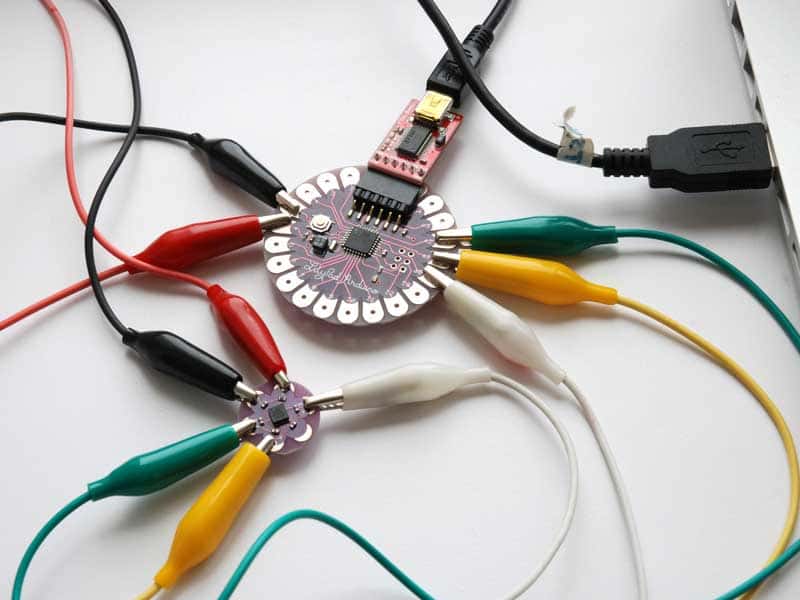
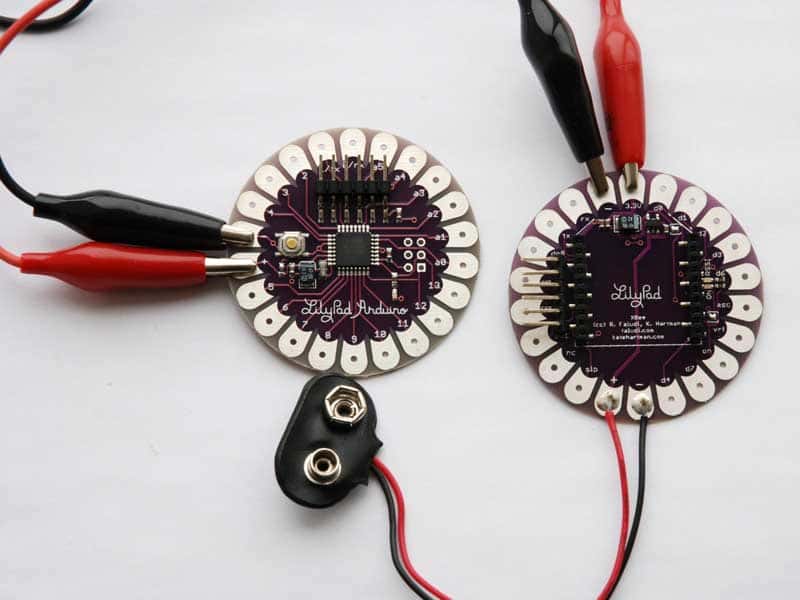
1) Disconnect the USB from the computer before making any connections with the alligator clips.
2) Using the alligator clips, connect the ‘X’ pin on the accelerometer to the ‘A0’ pin on the Lilypad Arduino. Connect the ‘Y’ pin to ‘A1’, and the ‘Z’ pin to A2.
3) Connect ‘+’ from the accelerometer to the ‘+’ on the Lilypad Arduino.
4) Connect ‘- ’ from the accelerometer to the ‘- ’ on the Lilypad Arduino.
5) Plug the USB cable back in to the computer.
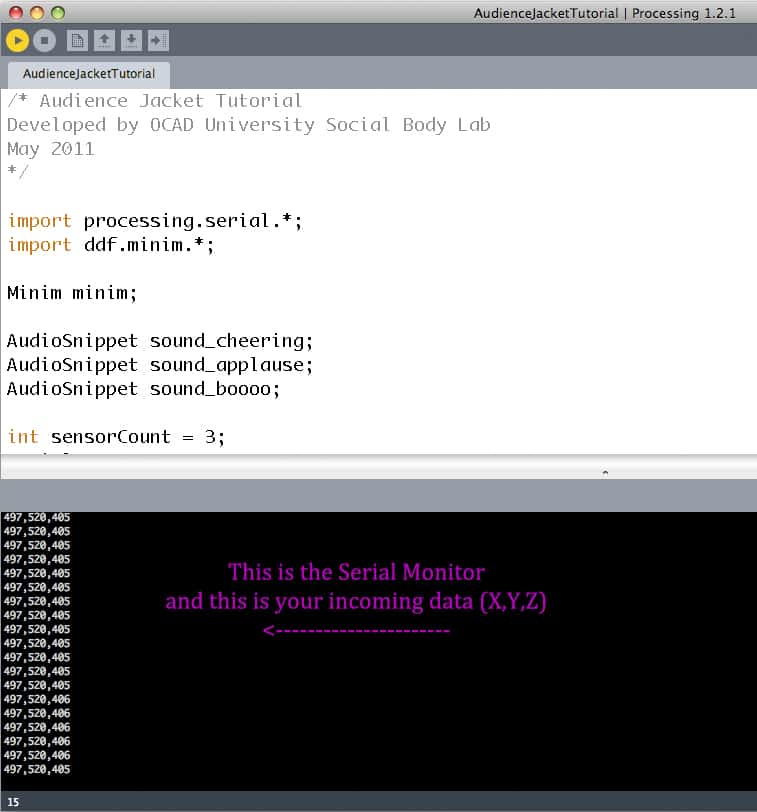
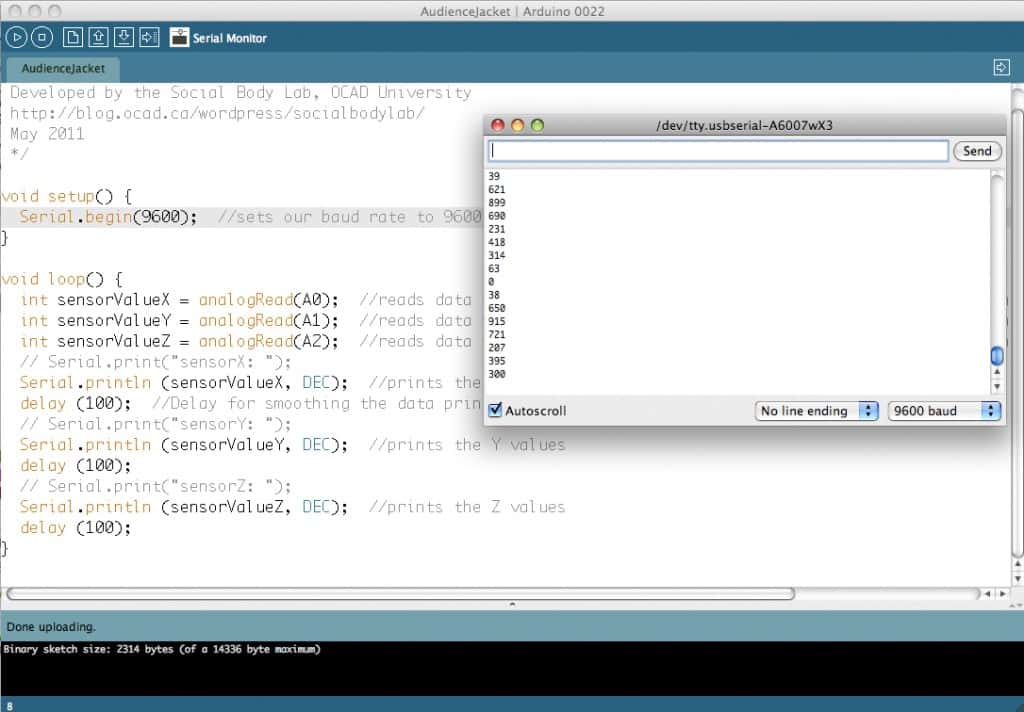
6) In a new project window copy/paste the following code. Upload the Arduino code to the Lilypad Arduino by clicking on the ‘Upload’ button (the button with the arrow pointing to the right). Open the Serial Monitor.
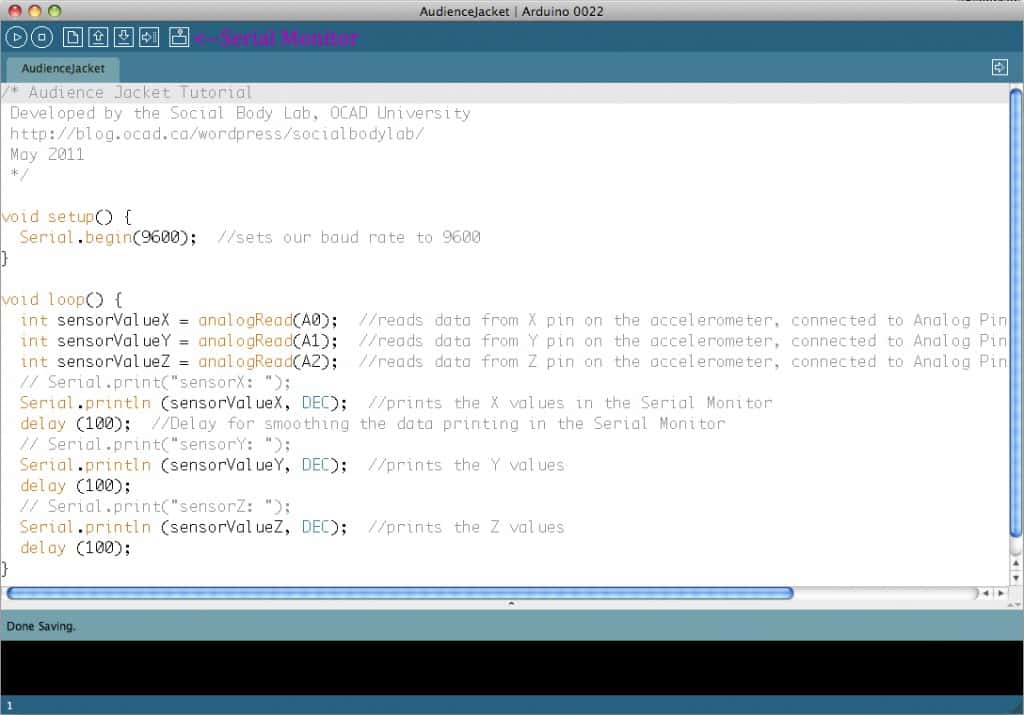
You should see a string of incoming numbers that change when you move the accelerometer around.
/* Audience Jacket Tutorial
Developed by the Social Body Lab, OCAD University
http://blog.ocad.ca/wordpress/socialbodylab/
May 2011*/
void setup() {
Serial.begin(9600); //this sets our baud rate to 9600
}
void loop() {
int sensorValueX = analogRead(A0); //reads data from the X pin on the accelerometer, connected to Analog Pin 0 on the Lilypad Arduino
int sensorValueY = analogRead(A1); //reads data from the Y pin on the accelerometer, connected to Analog Pin 1 on the Lilypad Arduino
int sensorValueZ = analogRead(A2); //reads data from the Z pin on the accelerometer, connected to Analog Pin 2 on the Lilypad Arduino
// Serial.print(“sensorX: “);
Serial.println (sensorValueX, DEC); //this prints the X values in the Serial Monitor
delay (100); //Delay for smoothing the data printing in the Serial Monitor
// Serial.print(“sensorY: “);
Serial.println (sensorValueY, DEC); //this prints the Y values in the Serial Monitor
delay (100);
// Serial.print(“sensorZ: “);
Serial.println (sensorValueZ, DEC); //this prints the Z values in the Serial Monitor
delay (100);
}
Step 8: Run the Processing Program
Open Processing and copy/paste the Processing code seen below into a new Processing sketch. Download the following sound files and drag/drop the files into the sketch folder. Please note that we will be releasing a newer version of this code in the very near future!
Sound Files: Booooo, Applause, and Cheer.
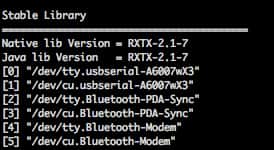
You will need to select your correct Serial port. This code will print out a list of Serial port within the serial monitor. It will look like this:
/* Audience Jacket Tutorial
Developed by the Social Body Lab, OCAD University
”http://blog.ocad.ca/wordpress/socialbodylab/
May 2011
*/
import processing.serial.;
import ddf.minim.*;
Minim minim;
AudioSnippet sound_cheering;
AudioSnippet sound_applause;
AudioSnippet sound_boooo;
int sensorCount = 3;
Serial myPort;
int xPos = 0; //accelerometer data from pin X
int yPos = 0; //accelerometer data from pin Y
int zPos = 0; //accelerometer data from pin Z
int[] xArray = new int[8]; //smoothing
int[] yArray = new int[8]; //smoothing
int [] zArray = new int[8]; //smoothing
char DELIM = ‘,’;
void setup () {
size (200, 200);
background(0);
println(Serial.list()); //lists available serial ports
myPort = new Serial(this, Serial.list()[0], 9600); //this is where you declare your serial port and set the baud rate to 9600
myPort.clear(); //clear the serial port
minim = new Minim(this); //creates a new Minim object
sound_cheering = minim.loadSnippet(“wooooo.wav”); //identifies our sound files
sound_applause = minim.loadSnippet(“clapclapclap.wav”); //identifies our sound files
}
void draw() {
playCheering(); //play the cheering routine
playApplause(); //play the applause routine
}
//CHEERING
void playCheering() {
if (getAverage(xArray) < 100 && getAverage(yArray) < 100 && getAverage(zArray) < 100) { //sets the threshold for coordinates when the //wearer raises their arms. you can adjust these numbers to get a different range of motion
if (!sound_cheering.isPlaying()) { //if the sound is not already playing
sound_cheering.play(); //then play the sound
sound_cheering.rewind(); //rewind the sound clip
}
}
}
//CLAPPING
void playApplause() {
if (getAverage(xArray) > 600 && getAverage(yArray) > 400 && getAverage(zArray) > 400) { //sets the threshold for coordinates when the //wearer claps
their hands. You can adjust these numbers to get a different range of motion
if (!sound_applause.isPlaying()) {
sound_applause.play();
sound_applause.rewind();
}
}
}
//Do a bit of averaging on the accelerometer data
int getAverage(int valueArray[]) {
int i;
int sum = 0;
int average;
for (i=0;i<valueArray.length;i++) {
sum += valueArray[i];
}
average = sum/valueArray.length;
return average;
}
//Write accelerometer data to an array
void addEntry(String value,int valueArray[]) {
int i;
for (i=0;i<valueArray.length-1;i++) {
valueArray[i]=valueArray[i+1];
}
valueArray[valueArray.length-1] = int(trim(value));
}
//Listen for data coming in through the Serial port
void serialEvent(Serial myPort) {
String serialString = myPort.readStringUntil(‘\n’);
if (serialString != null) {
//println(“”+serialString+””);
print(getAverage(xArray));
print(“,”);
print(getAverage(yArray));
print(“,”);
print(getAverage(zArray));
println(“”);
String[] numbers = split(serialString, DELIM);
if (numbers.length == sensorCount) {
addEntry(numbers[0],xArray);
addEntry(numbers[1],zArray);
addEntry(numbers[2],yArray);
}
}
}
// close the AudioSamples before we exit
void stop(){
sound_cheering.close();
sound_applause.close();
sound_boooo.close();
super.stop();
}
Click the ‘Stop’ button (indicated by a square) to stop the program.
Step 9: Solder the 9V battery clip to the Lilypad Xbee Breakout Board
Solder the 9V battery clip to the Lilypad Xbee Breakout Board, with the red wire going to ‘+’ and the black wire going to ‘- ’ on the breakout board.
Step 10: Connect the Lilypad Xbee
Now connect the Lilypad Xbee to the circuit using alligator clips. To do this, first disconnect the Lilypad Arduino from the computer and remove the FTDI breakout board. Using alligator clips, make the following connections:
| Lilypad Arduino | LilyPad Xbee | |
| RX | <– connects to → | TX |
| TX | <– connects to → | RX |
| + | <– connects to → | + (3.3V) |
| – | <– connects to → | – |
Plug in the 9V battery to the ‘+’ and ‘- ’ pins on the Lilypad Xbee board.
Now we are going to test the entire circuit once more. Run the Processing code once again, to confirm that valid data is being received.
About the Voltage Regulator on the Lilypad Xbee
One of the great features of the Lilypad Xbee is the on- board voltage regulator. With it, it is possible to put an unregulated power supply on the ‘+’ pin and receive a regulated 3.3V from the pin located at the top of the board. In this circuit, we are going to input 9V on one end of the voltage regulator, and use the regulated 3.3V to power our Lilypad Arduino.
One of the great features of the Lilypad Xbee is the on- board voltage regulator. With it, it is possible to put an unregulated power supply on the ‘+’ pin and receive a regulated 3.3V from the pin located at the top of the board. In this circuit, we are going to input 9V on one end of the voltage regulator, and use the regulated 3.3V to power our Lilypad Arduino.
CONSTRUCTING THE GARMENT
Step 11: Sketch the Design Layout
Using pen/pencil and paper, sketch out how your design will look on paper. This is an important step, since when working with conductive material you need to ensure that your connections are not crossed. The best way to avoid this is to work from a pre- planned design layout. You can come up with your own design layout or download and follow along with our design layout here.
We will be using the following 7 pins on the Lilypad Arduino:
+ — RX TX A0 A1 A2
On the Lilypad Xbee Board we will be using the following 4 pins:
RX TX – +
Step 12: Attach the Components
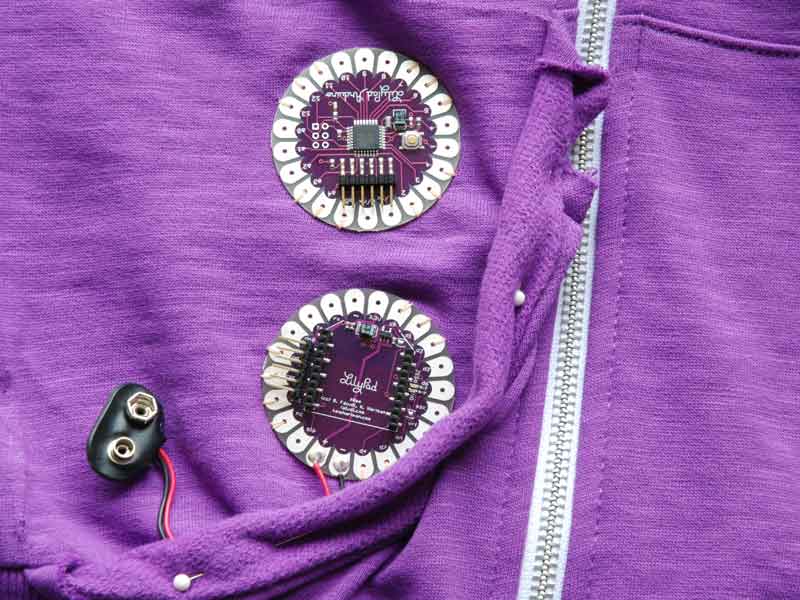
In this tutorial we are using the pocket area to discreetly hold the Lilypad Arduino, Lilypad Xbee, and the 9V battery. This allows the components to be secure and remain out of sight.
1) Using a seam ripper undo the pocket stitching along the top.
2) Lay out the components on the inner part of the pocket. Note that we placed the Lilypad Arduino upside down so that we could make simpler connections to our conductive fabric design. Refer to the design layout.
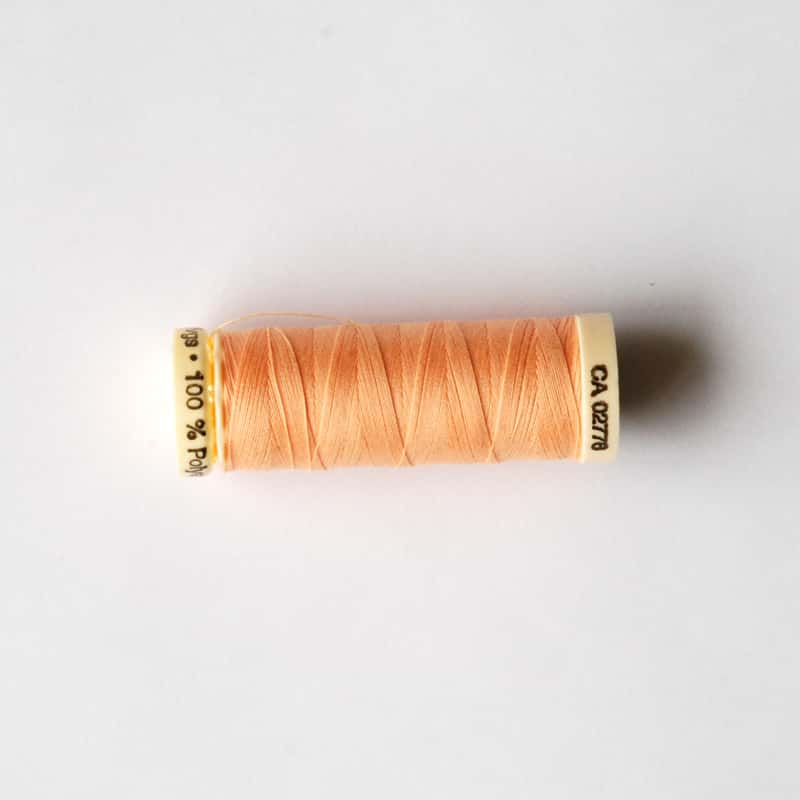
3) Using regular thread, fix the Lilypad Arduino and Lilypad Xbee on to the hoodie. Make sure you are not using the pins that belong to the circuit layout.
Step 13: Make t he Conductive Fabric Design
1) Using pencil on the back of the conductive fabric, measure and draw out 15 strips that are ¼” thick. We are doing a zigzag design so that it increases the flexibility of the conductive fabric on the arm.
If your hoodie is large or you have super long arms, you may want to sketch out a few extra strips of conductive fabric. For reference, the hoodie that we are using is Size 6 for females.
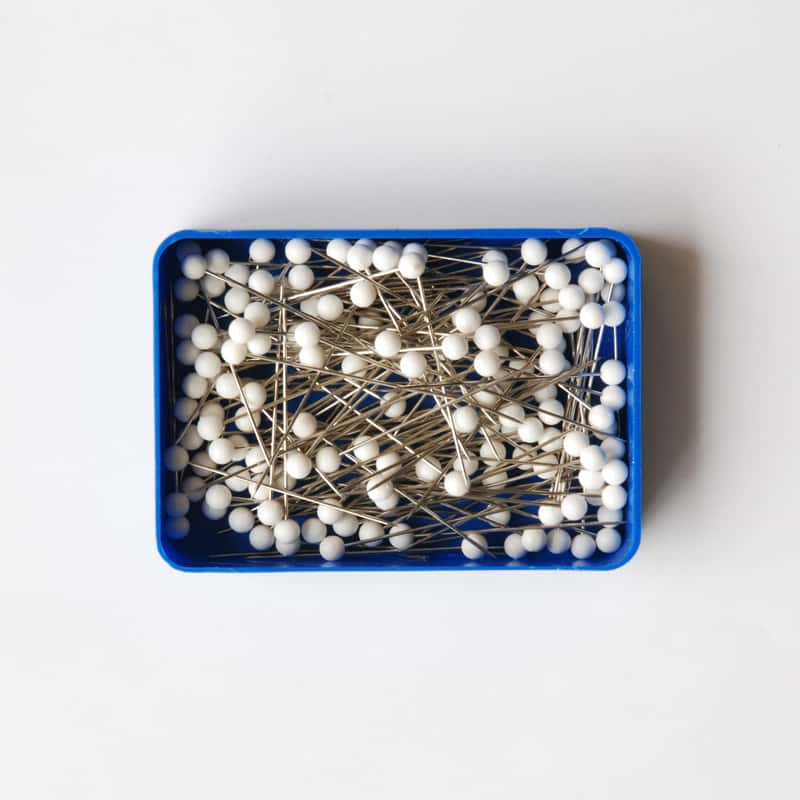
3) Lay the strips out along the hoodie, using pins to hold them in place.
There will be gaps at the shoulder and the elbow, between the lengths of the strips, where we will be making the connections with conductive thread. This will add flexibility in the design, and comfort in body movement.
4) Iron on the conductive fabric.

Working with Conductive Thread
Conductive thread has many unique properties that need to be considered when using it in soft circuits.
Here are some things you should know:
- Conductive thread is very slippery. Knots can have a hard time staying put, so try securing them with a bit of fabric glue or a dab of glue from a hot glue gun.
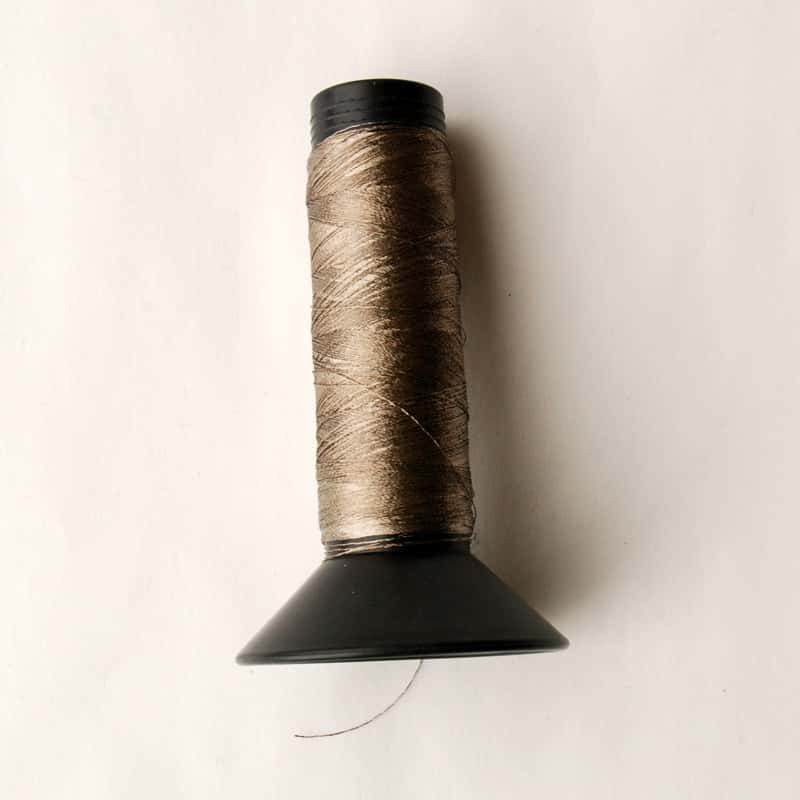
- Conductive thread acts more like wire than “normal” thread. Electricity runs through the lengths of conductive thread, so each connection (to a component, to your Xbee board) needs to be made of individual pieces of conductive thread.
- Because electricity passes through conductive thread, you want to make sure you don’t have any crossed connections. Look carefully at all of your connections before powering up your cuffs.
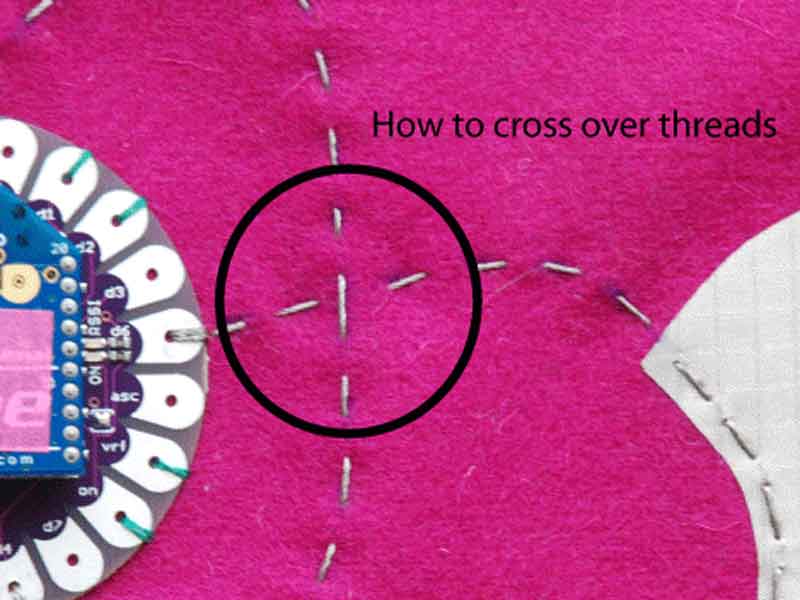
- If you need to intentionally cross over thread in your design, use the layer of felt/fabric as your insulator to make sure the two pieces of thread do not touch. See the image:
Step 14 : Make the Connect ions with Conductive Thread
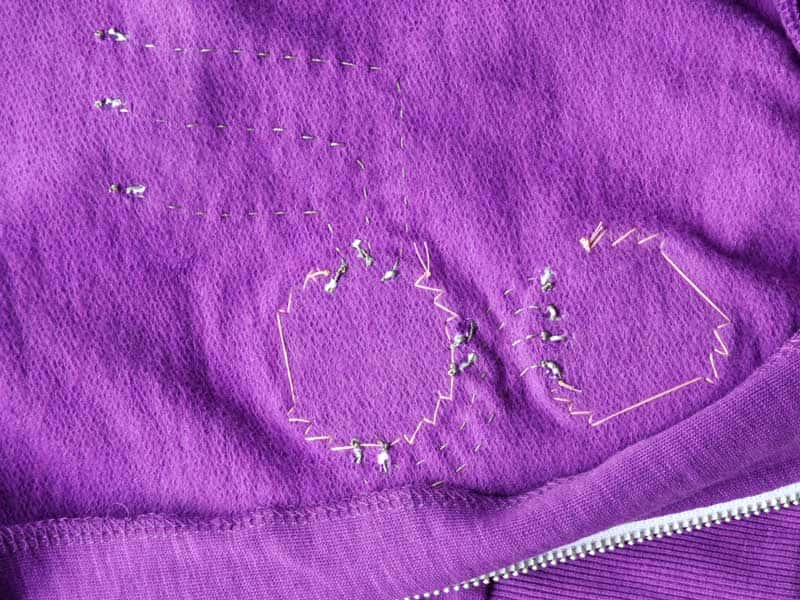
1) Sew the connections between the components with conductive thread. Note that the RX and TX pins are reversed in their connections between the two boards.
2) Then sew the connections between the Lilypad Arduino and the 5 lengths of conductive fabric (XYZ, +, – ). Make sure to use a different piece of conductive thread for each connection. Remember, conductive thread acts like wire, not regular thread!
5) Sew the gaps between Iron- on conductive fabric strips at the shoulder and the elbow.
6) Secure all knots at the back of the jacket with a dab of fabric glue. This is to assure that the ends of the conductive thread are not in touching one another.
6) Secure all knots at the back of the jacket with a dab of fabric glue. This is to assure that the ends of the conductive thread are not in touching one another.
Step 15: Sew the Pocket Closed
Now if you clap your hands, you should hear the sounds of many others clapping with you. If you raise your hands in the air, you should hear the vibrant cheers of others, as though you were in a stadium. Tilt your wrists downward and you’ll hear “BOOO!” This is your own personal audience! ENCORE!
Funding: Corus Seed Grant
Documents:


